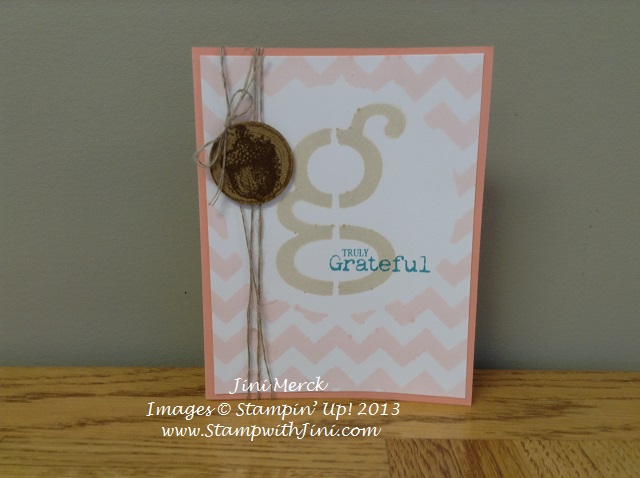
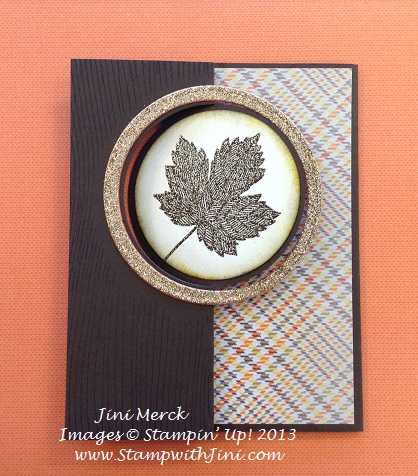
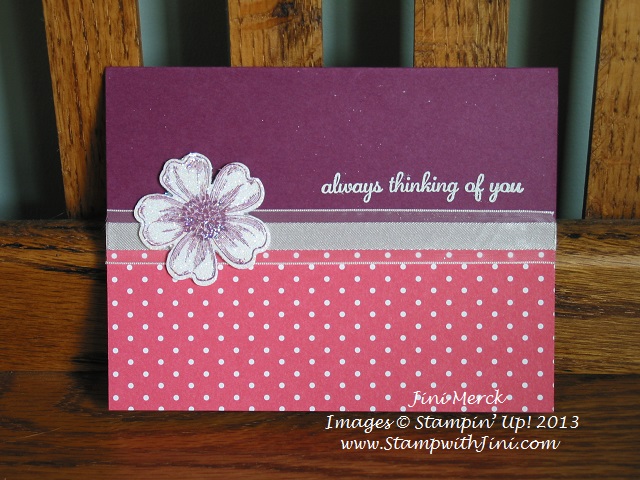
Have you seen our new Envelope Punch Board? The Envelope Punch Board is a lot of fun to use and not only for making great customizable envelopes! Check out this great File Folder card I made for my friend’s birthday.
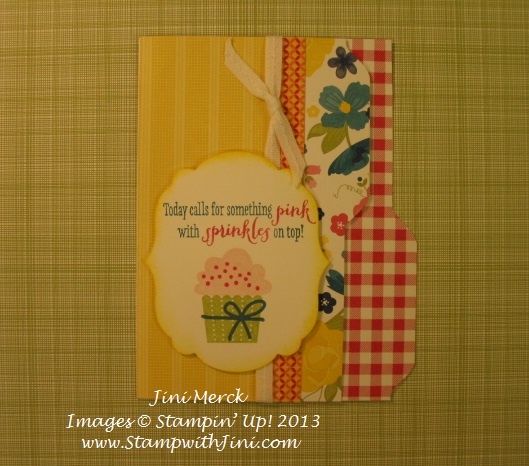
This File Folder card was a lot of fun to make and it’s quick and easy too with the Envelope Punch Board. Check out my latest video tutorial – File Folder Card #1
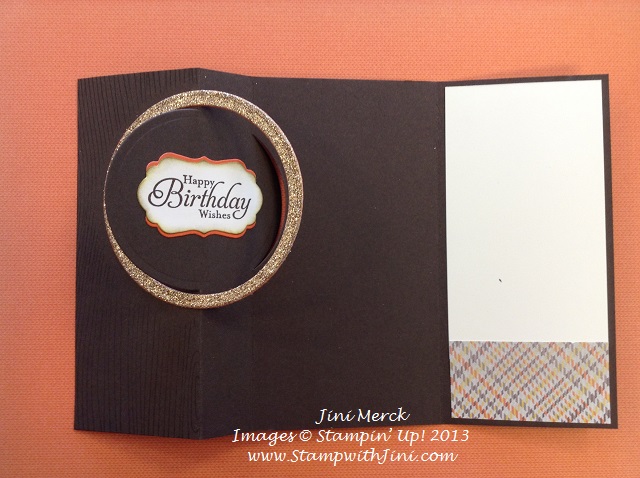
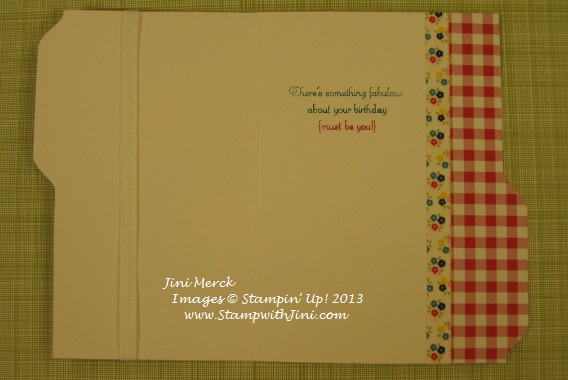
Here is the inside of the file folder card. Want to see a stepped up version of this file folder card? You can out my Facebook page, Stamp with Jini, to see it. Why not stop by and check it out – leave me a comment and then Like my page.
My friend Marni seemed to love her card when we celebrated her 40th birthday with a High Tea party at Mittie’s Tea Room Café in Alpharetta. This was a new experience for me since I’ve never had high tea before and everything was scrumptious. I really can’t even tell you what my favorite goodie was – that’s how good everything was. Here is a picture of the dessert plate.
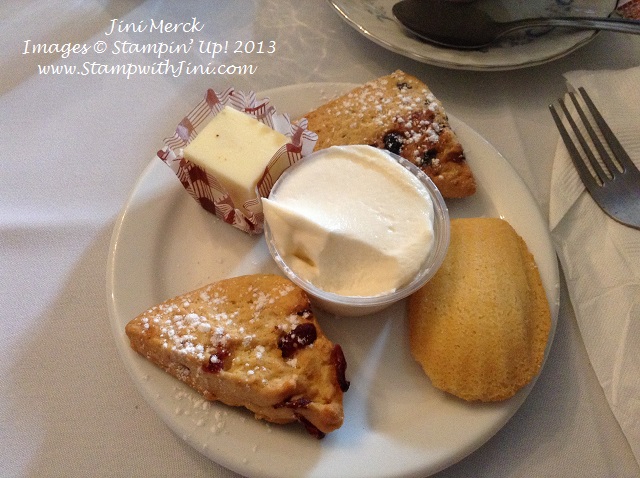
And another of a group of us. – That is me on the left. We spent a wonderful couple of hours celebrating and visiting together.

Supplies:
Stamp Set: One in a Million (132052/126382), Create a Cupcake (128520/121915), and Remembering Your Birthday (131347/131350)
Inks: Pear Pizzazz (131180), Pink Pirouette (126956), Mellon Mambo (126948), Daffodil Delight (126944), and Island Indigo (126986)
Paper: Gingham Garden Designer Series Paper (129310) and Whisper White (100730)
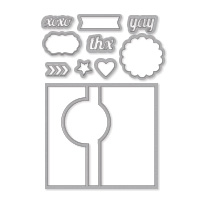
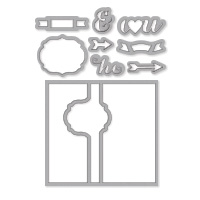
Accessories: Gingham Garden Designer Washi Tape (129314), Old Olive 1/8″ Taffeta Ribbon (119256), Labels Collection Framelits (125598), Envelope Punch Board (133774), Stampin’ Trimmer (126889), Multipurpose Liquid Glue (110755), Stampin’ Sponges (101610)
Click here to order your Stampin’ Up! Products online 24/7! (US only)
Use Mystery Hostess Code RUG6FXNY when placing your order and your name will be entered into my Mystery Hostess Drawing. This Mystery Hostess Code RUG6FXNY will be good through Saturday, November 2nd. The number of hostess will depend on the total sales and I’ll be drawing a hostess for every $150 in sales.
NEW WEEKLY DEALS!
Here’s this week’s great new deals. Make sure you get yours before they run out!
Secret Garden Framelit Dies #129372
Stampin’ Pierce Mat #126199
7/8″ Scallop Circle Punch # 129404
Ovals Collection Framelits Die #129381
Paper Snips # 103579

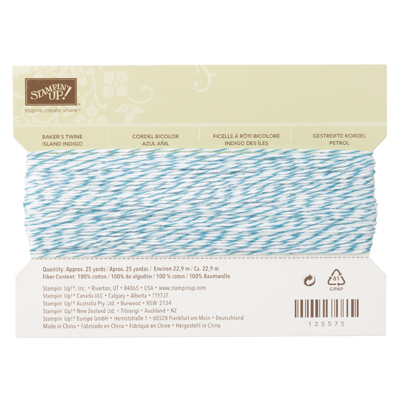
Island Indigo Baker’s Twine # 125575
Blossom Petals XL Punch # 121808
Keep This Memory Photobook Template # 129879
Tag It Bundles

Create Pretty Packages – Just in time for your holiday gift packaging. Two great options to choose from. Available for a limited time – Now through November 19th, 2013.
|
Item |
Description |
Includes |
|
|
135811 |
Holiday Tag It Decorative Box Bundle |
|
|
|
135812 |
Holiday Tag It Extra-Large Box Bundle |
|
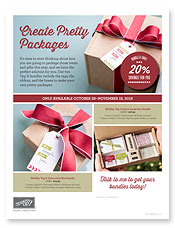
Click HERE for a Flyer with details
My Digital Studio Sale
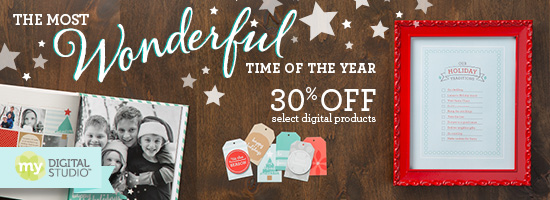
It’s an exciting time for My Digital Studio – so don’t miss out on any of the fun! Now through November 30th Stampin’ Up! is kicking off the holiday season with 30% OFF select holiday downloads and print products!
And with the NEW My Library App for My Digital Studio available for iPads, Android tablets and Kindle Fire what better time is there to join in the My Digital Studio Fun if you haven’t already tried it?
Click HERE for a FREE 30 Day Trial of My Digital Studio
Click HERE to see all the great My Digital Studio items on sale to make your holiday projects fast and easy.
FREE FALL MEMORIES NOVEMBER WALLPAPER
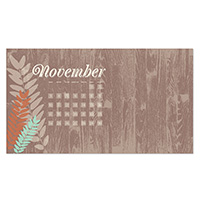
Get your FREE November Wallpaper for your laptop today just place an order using item #135911. Why not check out all the great NEW digital downloads for this week by clicking HERE.