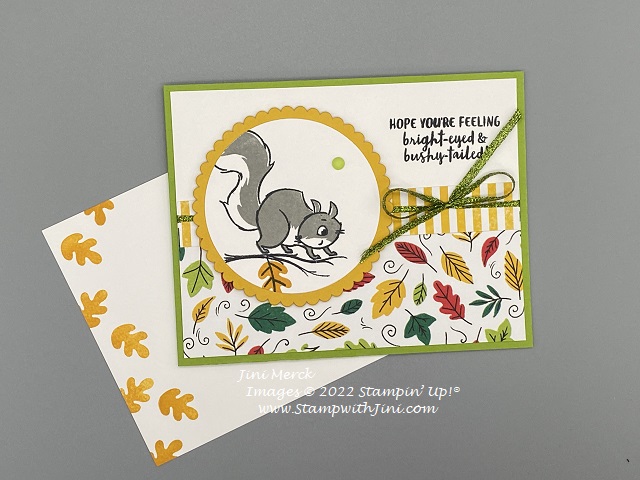
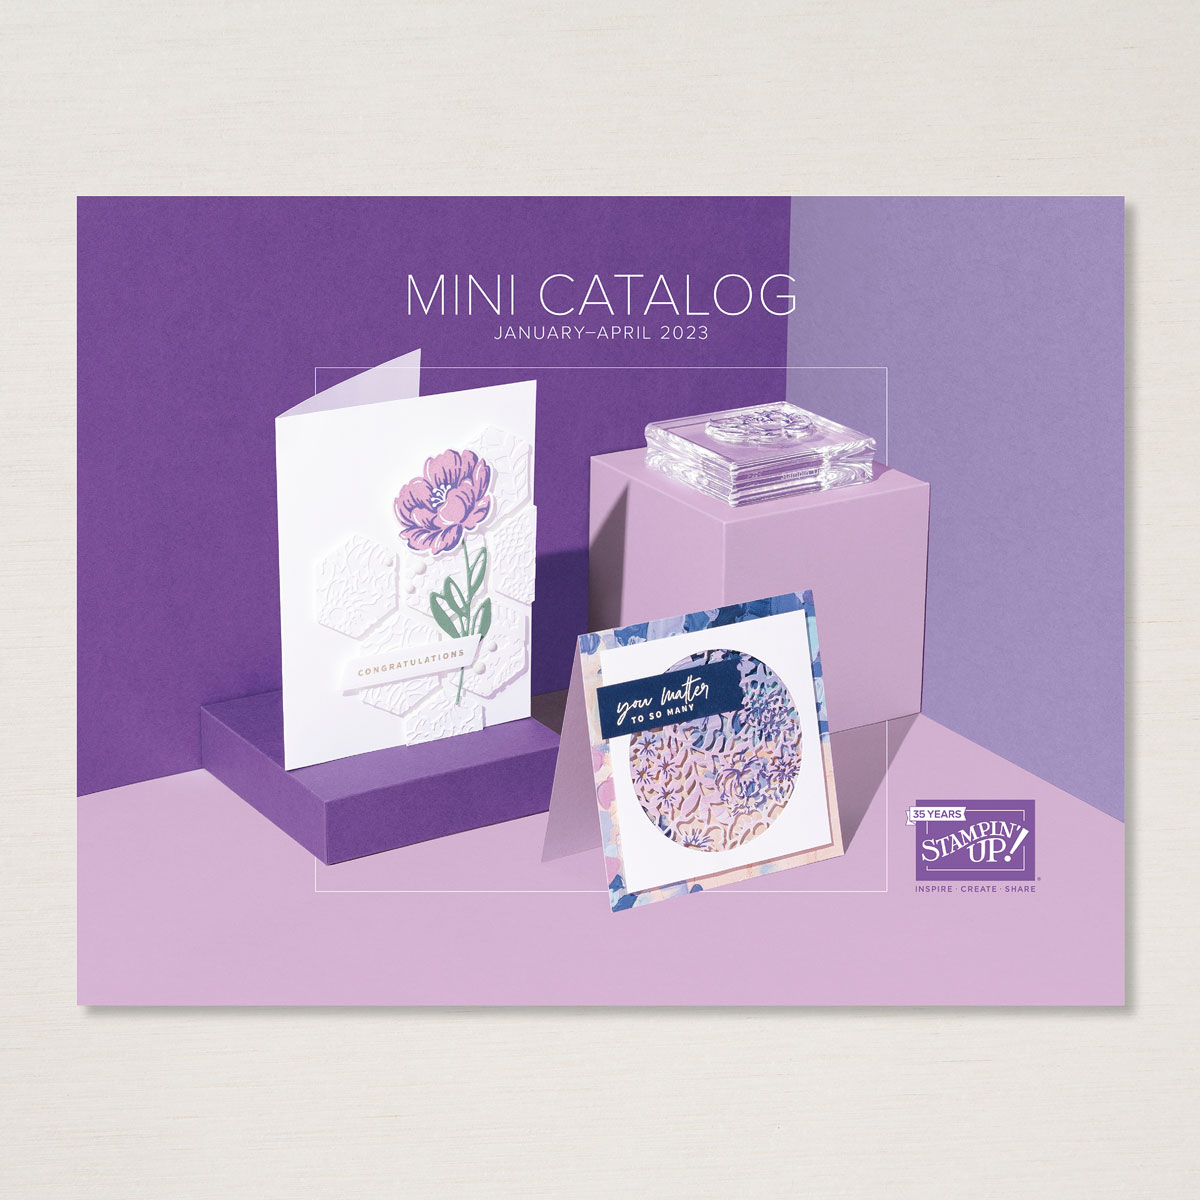
You’re going to love the lovely cards you can create with the Framed Florets Bundle and while the sneak peek Collection (163129) is only available for a few more days the good news is the bundle will be available in the NEW 2023 Mini Catalog.
This bundle has some wonderful oval die options and include 2 different frames that you can mix and match. I’ve created this soft and lovely birthday card using the smaller less detailed frame that comes in the die set.
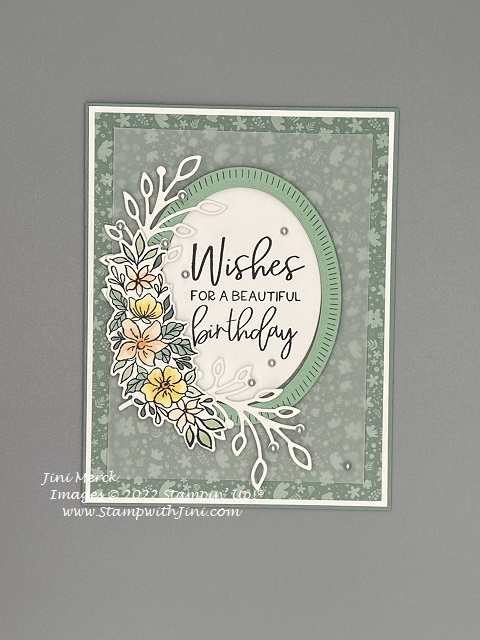
I just love the soft layer of color that the vellum creates for this project and our Stampin’ Blends make coloring quick and easy. Check out this Video Tutorial that I made for you showing you how I created this card.
Framed Florets Birthday Card Tutorial PDF
If you love the way this card looks you’ll want to pick up some of the Festive Pearls (159963) before they are gone since they are part of the holiday selection.
Enjoy! And don’t forget to stop back by tomorrow when I’ll be sharing another fun video tutorial with you.
Supplies:
Stamp Set: Framed Florets Bundle (162407)
Paper: 2022-2024 In Color Collection Designer Series Paper (1159254) and Vellum Card stock (101856)
Accessories: Festive Pearls (159963)

Click here to order your Stampin’ Up! Products online 24/7! (US only)
Shop at my Online Store and use Host Code BZDBFMB9 with a product order of $30 or more and receive a FREE Gift, my Virtual Class using the Beautifully Happy stamp set
Sign up HERE for my FREE Newsletter OR Get my Blog Posts delivered right to your inbox HERE
Want a 2023 Mini & Sale-a-bration Brochure?
Don’t have a Demonstrator? Email me at StampwithJini@gmail.com include your name, address, and phone number and I’ll be happy to mail you one.
Wondering How to Get YOUR Copy?
- If you haven’t ordered in a while
- Don’t have a demonstrator
Contact me at stampwithjini@gmail.com or give me a call. I’ll be happy to mail you one or if your local set one aside for pick up